Discover the latest trend in 3D nail art, explore tools and materials, and learn step-by-step guides, tips, and maintenance for inspiring designs.
Intricate 3D Nail Art: Exploring the Trend
Contents
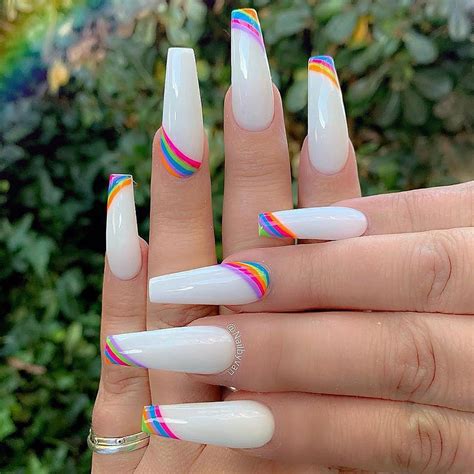
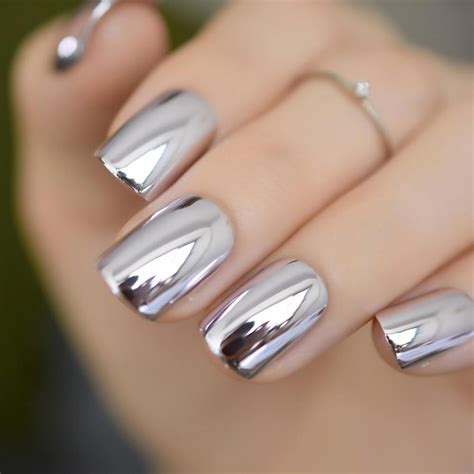
3D nail art has taken the beauty world by storm, with intricate designs and stunning effects that can elevate any manicure to a whole new level. The trend of 3D nail art is all about adding texture, depth, and dimension to your nails, creating a visually striking and unique look that is sure to turn heads. From delicate flowers to bold geometric shapes, the possibilities with 3D nail art are endless.
One of the key tools for creating intricate 3D nail art designs is the use of nail sculpting gel. This gel is specifically designed to help nail technicians create 3D nail art designs, allowing them to sculpt and shape the gel into beautiful and intricate designs. Nail sculpting gel comes in a variety of colors and is often used in combination with nail art brushes to create detailed and precise designs.
Another important aspect of 3D nail art is the use of decorative materials such as rhinestones, studs, glitter, and beads. These materials can be used to add texture and visual interest to 3D nail art designs, creating a multi-dimensional and eye-catching effect. When it comes to 3D nail art, the possibilities are truly endless, and the only limit is your imagination.
Whether you’re an experienced nail technician or a DIY nail art enthusiast, exploring the trend of intricate 3D nail art can open up a world of creative possibilities. Experiment with different techniques, materials, and designs to create your own unique 3D nail art masterpieces that are sure to inspire others.
Tools and Materials for 3D Nail Art
When it comes to creating 3D nail art, having the right tools and materials is essential. There are various items that you will need to bring your intricate designs to life. Firstly, you will need a set of nail art brushes in different sizes to create intricate details. These brushes are designed to work with nail polish and acrylics, allowing you to add depth and texture to your designs. Additionally, a set of dental tools can be useful for sculpting and shaping the 3D elements on your nails.
Another important material for 3D nail art is acrylic powder and liquid. These are used to create the base for your 3D designs and can be combined with pigments and glitter to add color and sparkle. You will also need a good quality UV or LED lamp to cure the acrylic and gel products, ensuring that your designs are long-lasting and durable.
Furthermore, nail tips or forms are necessary for creating sculptured 3D nail art. Nail tips provide a base for building 3D designs, while forms allow you to sculpt custom shapes directly onto the nail. Additionally, a variety of gel and acrylic colors will be needed to bring your designs to life, providing a wide range of options for creating detailed and colorful 3D nail art.
Lastly, a good quality top coat is essential for finishing and protecting your 3D nail art. A top coat will seal in your designs and add shine, as well as protecting them from chipping and fading. With the right tools and materials, you can explore a wide range of 3D nail art designs and bring your creativity to life.
Step-By-Step Guide to Creating 3D Nail Art
Step-By-Step Guide to Creating 3D Nail Art
Creating intricate and beautiful 3D nail art can be a fun and rewarding experience. With the right tools and materials, you can create stunning designs that will impress everyone around you. Whether you’re new to nail art or a seasoned pro, following a step-by-step guide can help you bring your 3D nail art designs to life.
First, gather all the necessary tools and materials for your 3D nail art project. You’ll need a variety of nail polishes in different colors, as well as a top coat and base coat. Additionally, you’ll need a set of nail art brushes, dotting tools, and some clear acrylic powder. Don’t forget to also pick out some 3D nail art decorations, such as rhinestones, studs, and glitter. Once you have everything you need, you can begin the process of creating your 3D nail art masterpiece.
Start by applying a base coat to your nails to protect them from staining. Once the base coat is dry, you can begin applying your chosen nail polish colors to create the background for your 3D design. Use the nail art brushes and dotting tools to create intricate patterns and designs on your nails. You can also use the clear acrylic powder to sculpt 3D elements directly onto your nails. Once you’re happy with your design, apply a layer of top coat to seal in your beautiful creation.
Finally, add the finishing touches to your 3D nail art by applying the decorations you’ve chosen. Use the nail art brushes to carefully place rhinestones, studs, and glitter onto your nails. You can create a variety of different designs and patterns using these decorations, so don’t be afraid to get creative. Once you’ve finished decorating, apply another layer of top coat to secure everything in place. Now you’re ready to show off your stunning 3D nail art to the world!
Inspiring Designs for 3D Nail Art
When it comes to creating 3D nail art, the possibilities are endless. From intricate floral designs to cute animal shapes, there are so many inspiring designs to choose from. One popular design is the 3D flower nail art, which can be created using acrylics or gel. These beautiful floral designs add a touch of elegance to your nails and are perfect for special occasions or weddings.
Another inspiring design is the 3D geometric nail art, which uses bold, vibrant colors and striking shapes to create a modern and edgy look. Whether you prefer minimalist designs or more elaborate styles, there are endless options to choose from. The beauty of 3D nail art is that it allows you to express your creativity and personality through your nails.
If you’re looking for some inspiration, consider trying out 3D crystal nail art, which uses small, shiny crystals to create a glamorous and sophisticated look. These dazzling designs are perfect for adding some sparkle to your everyday look, or for special events such as prom or parties.
For those who are feeling a little more adventurous, 3D nail art can also include abstract designs, such as swirls, dots, and lines, which can be created using a variety of techniques, including hand-painting and stamping. The key is to experiment with different shapes, colors, and textures to create a unique and eye-catching look.
Tips for Maintaining 3D Nail Art
Tips for Maintaining 3D Nail Art
One of the most important things to keep in mind when it comes to maintaining your 3D nail art is to be gentle with your hands. Avoid using your nails as tools, as this can cause the intricate designs to chip or break. Additionally, regular moisturizing of your nails and cuticles can help to keep the designs looking fresh and prevent any lifting or peeling.
Another tip for maintaining your 3D nail art is to be mindful of the activities you engage in. Certain activities, such as washing dishes without gloves, can lead to premature wear and tear of your nail art. To protect your designs, consider using gloves when engaging in activities that involve prolonged exposure to water or harsh chemicals.
In addition, it’s important to touch up your 3D nail art regularly. Over time, the designs may start to lose their vibrancy and definition. By touching up any areas that have chipped or faded, you can keep your nail art looking as good as new.
Lastly, be sure to schedule regular appointments with your nail technician for maintenance. They can help to ensure that your 3D nail art stays in top condition, from filling in any gaps to repairing any damage that may have occurred.
| Tip for Maintaining 3D Nail Art |
|---|
| Be gentle with your hands |
| Mindful of activities |
| Regular touch-ups |
| Schedule maintenance appointments |


