Get the step-by-step guide for butterfly nails, tips on choosing colors and designs, adding dimension with 3D accessories, shaping techniques, and maintenance for longevity.
Butterfly Nails: Step-by-Step Guide
Contents
Creating butterfly nails is a fun and creative way to add a playful touch to your manicure. This step-by-step guide will walk you through the process of achieving this unique and beautiful design.
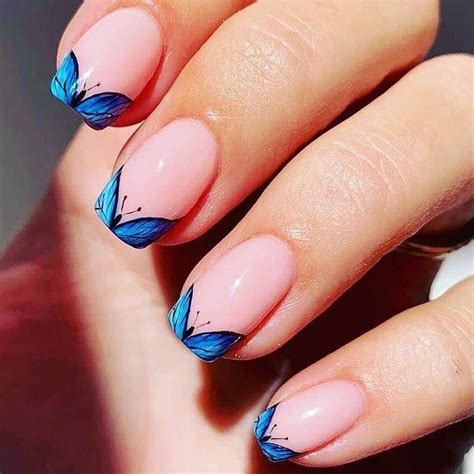
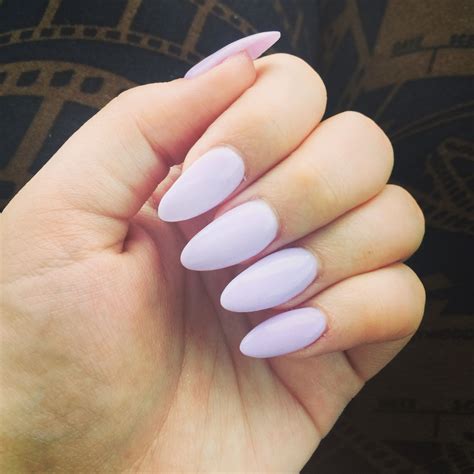
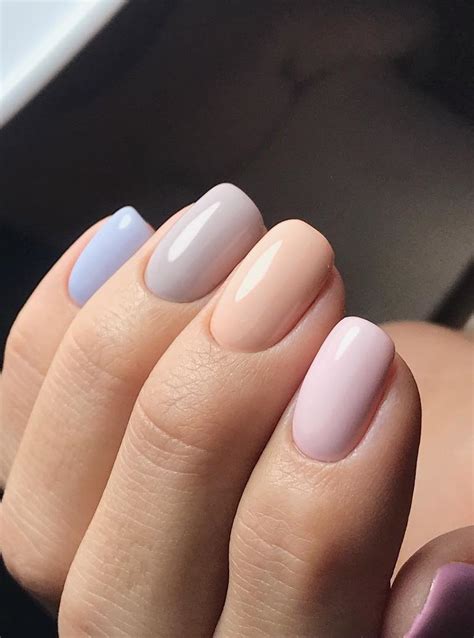
First, start with a clean and prepped nail surface. Use a base coat to protect your nails and ensure the color adheres well. Once the base coat is dry, apply a coat of your chosen nail color. For a classic butterfly look, consider using pastel shades like pale pink, lavender, or sky blue. These light colors will give your nails a delicate and ethereal appearance.
Next, it’s time to create the butterfly wings. Using a thin nail brush or a nail art pen, carefully draw a diagonal line across the nail to create the body of the butterfly. Then, extend the line outward to create the wing shape. Repeat this process on the other side of the nail to form the second wing. You can also use nail stencils or stickers to help create the wing shape if you’re not confident in your freehand nail art skills.
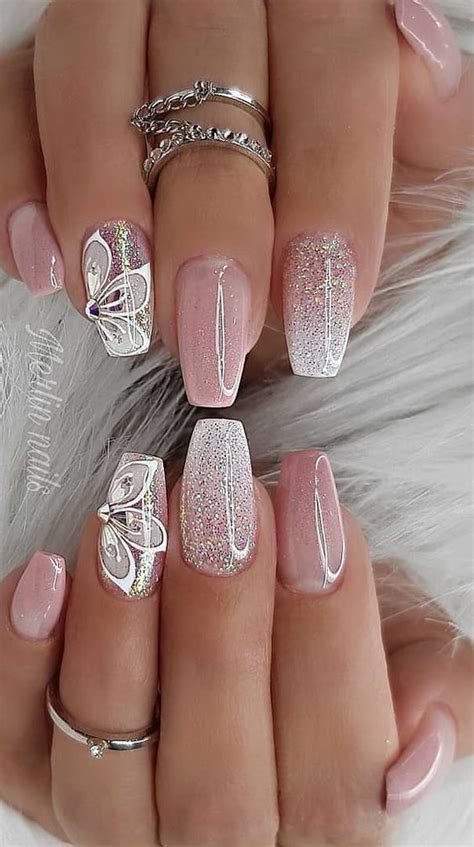
Once the wings are complete, you can add intricate details and patterns to bring your butterfly nails to life. Consider adding 3D accessories like rhinestones, charms, or decals to give your design a unique and dimensional look. You can also experiment with different nail art techniques such as ombre gradients, glitter accents, or negative space designs to make your butterfly nails truly stand out.
Finish off your butterfly nails with a glossy top coat to seal in your design and add shine. With the right techniques and a little bit of creativity, you can achieve a stunning set of butterfly nails that will be the envy of everyone around you.
Choosing Colors and Designs
When it comes to choosing the right colors and designs for your butterfly nails, there are a few key things to keep in mind. First and foremost, consider the overall look you want to achieve. Are you going for a bold and vibrant look, or something more subtle and elegant? Think about the occasion or event where you will be sporting your butterfly nails, and choose your colors and designs accordingly.
Next, consider the shape and length of your nails. Different colors and designs can complement or clash with certain nail shapes and lengths, so it’s important to take this into account when making your choices. For example, darker colors and intricate designs may look overwhelming on shorter nails, while lighter colors and simpler designs can make shorter nails appear longer and more elegant.
Consider the current trends and popular color schemes when choosing your butterfly nail colors and designs. Are there certain colors or patterns that are currently trending or in fashion? Incorporating these trends into your butterfly nails can help give them a modern and stylish edge, and ensure that your nails are on point with the latest looks. However, don’t be afraid to think outside the box and choose colors and designs that reflect your personal style and preferences, even if they are not currently in vogue.
Finally, consider the season and time of year when choosing your butterfly nail colors and designs. Bright, pastel colors and floral designs may be perfect for spring and summer, while rich, deep hues and cozy patterns can be ideal for fall and winter. By taking these seasonal elements into account, you can ensure that your butterfly nails are perfectly suited to the time of year and will complement your overall look and style.
Adding Dimension with 3D Accessories
One way to take your butterfly nails to the next level is by adding dimension with 3D accessories. By incorporating 3D elements into your nail art, you can create a unique and eye-catching look that will surely capture everyone’s attention.
Start by selecting some 3D accessories that complement the color scheme and design of your butterfly nails. This could include rhinestones, pearls, beads, or even small metal charms. These accessories can be applied to your nails using nail glue or a clear top coat to ensure they stay in place.
When adding 3D accessories to your butterfly nails, it’s important to consider placement and balance. You don’t want the accessories to overwhelm the design, so be mindful of where you place them on your nails. You can also experiment with different sizes and shapes to create a visually appealing composition.
3D accessories can be used to enhance the wings of the butterfly, adding texture and depth to the overall look. You can also use them to create a 3D effect by layering the accessories to give the illusion of depth and movement. The possibilities are endless when it comes to adding dimension with 3D accessories.
Remember to seal your 3D accessories with a layer of top coat to protect them and ensure they last longer. With the right placement and balance, 3D accessories can take your butterfly nails to a whole new level and give them a stunning, dimensional look.
Tips for Perfect Butterfly Nail Shapes
Tips for Perfect Butterfly Nail Shapes
When it comes to creating butterfly nails, the perfect shape is crucial to achieving a stunning and professional-looking manicure. Whether you prefer almond, stiletto, square, or coffin-shaped nails, there are a few tips that can help you achieve the perfect butterfly shape.
First, it’s important to consider the length of your nails. For a more dramatic and fluttery effect, opt for longer nail extensions or allow your natural nails to grow out. Longer nails provide a larger canvas for creating intricate butterfly designs and allow for more specific shaping.
Next, pay attention to the width of your nails. For a more realistic and delicate butterfly shape, aim for a slightly narrower width towards the tip of the nail. This will mimic the tapered and delicate wings of a butterfly and create a more visually appealing shape.
Additionally, consider the curvature of your nail. Whether you opt for a natural or artificial nail shape, ensure that the curvature of the nail mimics the natural curve of a butterfly wing. This will create a more realistic and dimensional look, enhancing the overall appearance of your butterfly nails.
Lastly, don’t be afraid to experiment with different nail shapes and lengths to find the perfect fit for your butterfly nails. Each person’s nail shape and length is unique, so take the time to find the perfect combination that best suits your preferences and enhances your butterfly nail designs.
Maintenance and Longevity Techniques
Proper maintenance and care are essential for keeping your butterfly nails looking beautiful for as long as possible. Regular maintenance can help prevent chipping, fading, and other damage, while also extending the life of your manicure.
First and foremost, be sure to keep your nails clean and dry. Moisture can weaken the bond between the nail polish and your nails, leading to chips and peeling. Use gloves when doing dishes or cleaning to protect your nails from harsh chemicals and excessive moisture.
Additionally, consider applying a top coat every few days to help seal and protect the polish. A good quality top coat can help prevent chipping and keep your nails looking fresh for longer.
When it comes to longevity, choosing the right nail polish and products is crucial. Look for high-quality, long-lasting formulas that are chip-resistant and provide a durable finish. Avoid exposing your nails to excessive heat or cold, as extreme temperatures can cause the polish to crack and peel.
By following these maintenance and longevity techniques, you can ensure that your butterfly nails stay vibrant and beautiful for weeks to come.

