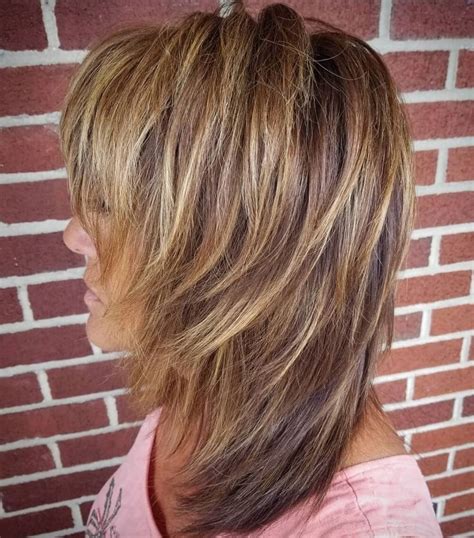
Get step-by-step tutorials for braided updos, messy buns, beach waves, sleek straight hair, and voluminous curls. Achieve your favorite hairstyles effortlessly with our expert guides.
Braided Updo Tutorial
Contents
Looking for a chic and elegant hairstyle for a special occasion? Why not try a braided updo for a sophisticated and timeless look. Whether you have long or short hair, this versatile hairstyle can be customized to suit your personal style and preference. Follow our step-by-step guide to achieve the perfect braided updo.
To start, create a deep side part on one side of your head. This will give your updo a sleek and polished look. Next, gather all of your hair to one side and divide it into three equal sections. Begin a traditional three-strand braid by crossing the right section over the middle, then the left over the middle, and continue this pattern until you reach the ends of your hair. Secure the braid with a clear elastic band to keep it in place.
Now that you have your braid, gently tug on each section of the braid to create a fuller and more voluminous look. This will give your updo a softer and more romantic feel. Once you have fluffed up the braid to your liking, carefully roll it up towards the nape of your neck, tucking the ends underneath the braid. Use bobby pins to secure the braid in place, making sure to hide the pins for a seamless finish.
For the finishing touch, you can gently pull out a few face-framing pieces to soften the look or leave it sleek for a more sophisticated vibe. Spritz some hairspray to keep your braided updo in place all day and night. This timeless hairstyle is perfect for weddings, proms, or any special event where you want to look effortlessly elegant.
Messy Bun Step-by-Step Guide
Are you looking for a quick and easy hairdo that’s perfect for any occasion? Look no further than the Messy Bun! This effortlessly chic hairstyle is great for both casual and formal events, and it’s surprisingly simple to achieve. Whether you’re running errands, heading to the office, or attending a special event, the Messy Bun is a versatile option that works for virtually any hair type and length.
First, start by gathering your hair into a high ponytail. Use a brush or your fingers to smooth out any bumps or lumps, and secure the ponytail with an elastic hair tie. Next, gently tug on the hair at the crown of your head to create some volume, and then twist the ponytail around the base to form a bun. Use bobby pins to secure any loose ends, and pull out a few strands around your face to create a soft, romantic look.
Messy buns are all about embracing imperfections, so don’t worry about achieving a perfectly polished style. In fact, the more tousled and undone the bun looks, the better! You can also use texturizing spray or dry shampoo to add some extra grip and hold to your hair, especially if it’s clean and freshly washed.
If you have layers, don’t stress about getting every strand to stay in place. Embrace any pieces that fall out of the bun, as they’ll add to the overall messy and carefree vibe of the style. Try experimenting with different bun placements – you can opt for a low bun at the nape of your neck, a side bun for a playful twist, or even multiple buns for a fun, whimsical look.
For a unique touch, you can also accessorize your Messy Bun with embellished hair clips, headbands, or scarves. These accessories can add a pop of color or sparkle to your style, and they’re perfect for dressing up the look for a special occasion. With this easy step-by-step guide, you’ll be rocking the Messy Bun in no time!
Beach Waves Hair Tutorial
Beach waves are a timeless and effortlessly chic hairstyle that is perfect for any occasion. Whether you’re headed to the beach or a summer soirée, this laid-back look is sure to turn heads.
First, start by washing your hair with a volumizing shampoo and conditioner to add texture and body to your locks. Once your hair is clean, towel-dry it until it’s slightly damp.
Next, apply a sea salt spray or texturizing mist to your hair, focusing on the mid-lengths and ends. This will help enhance the natural wave in your hair and give it that coveted beachy texture.
After applying the product, use a wide-tooth comb to gently detangle your hair and distribute the product evenly. Then, divide your hair into sections and twist each section into a loose bun. Use a hair tie to secure the buns in place, and allow your hair to air dry or use a diffuser for added texture.
Once your hair is completely dry, carefully unravel the buns and run your fingers through your hair to loosen the waves. For added volume, you can also use a curling iron to define certain sections of hair.
Sleek and Straight Hair How-To
Do you want to achieve that sleek and straight look for your hair? Well, you’re in luck because I have the perfect step-by-step guide for you. First, start with clean, dry hair. It’s essential for this style to work. Once your hair is clean and dry, apply a heat protectant to prevent any damage from the styling tools.
Next, divide your hair into sections. This will make it easier to straighten all of your hair evenly. Use a flat iron to straighten each section of hair. Make sure to use a good quality flat iron to prevent any frizziness. Take your time with this step, and don’t rush through it.
Once your hair is all straightened, you can add a shine serum to give your hair that extra sleek look. If you want to take it a step further, you can also use a fine-tooth comb to lay down any flyaways. Finish off with a light-hold hairspray to keep everything in place.
There you have it! Now you have a gorgeous, sleek and straight hairstyle that is perfect for any occasion. Whether you’re heading to work or out for a night on the town, this hairstyle is sure to turn heads.
Voluminous Curls Tutorial
Are you tired of limp, lifeless hair? Do you want to add some oomph to your locks? Well, you’re in luck because we’ve got the perfect tutorial for you! With our step-by-step guide, you’ll learn how to create voluminous curls that will leave your hair looking full and fabulous.
First, start with clean, dry hair. Apply a heat protectant spray to protect your locks from the damage of heat styling. Then, divide your hair into sections, starting with the bottom layer.
Next, take a one-inch section of hair and wrap it around a curling iron, holding for a few seconds before releasing. Repeat this process for all sections of your hair, making sure to curl away from your face for a natural-looking finish.
Once all of your hair is curled, gently tousle your locks with your fingers to separate the curls and create volume. Finally, finish off with a spritz of hairspray to hold your voluminous curls in place all day long.
With the help of our voluminous curls tutorial, you’ll be able to achieve beautiful, bouncy locks that are sure to turn heads. So say goodbye to flat, lifeless hair and hello to voluminous, glamorous curls!


