Discover how to choose the perfect Sharpie for stunning nail art, prep your nails, create step-by-step designs, and maintain your beautiful Sharpie nail art.
Choosing the right Sharpie for nail art
Contents
When it comes to creating stunning nail art with Sharpie markers, choosing the right Sharpie is crucial for achieving the best results. Sharpie markers are available in a wide range of colors, styles, and tip sizes, making it important to select the right one for your nail art.
One of the most important factors to consider when choosing a Sharpie for nail art is the tip size. Fine tip Sharpies are ideal for creating intricate designs and detailing, while ultra-fine tip Sharpies are perfect for adding smaller details and accents to your nail art. On the other hand, if you are looking to cover larger areas of your nails with color, regular tip Sharpies may be the best option.
In addition to tip size, it is also important to consider the type of Sharpie marker you are using. Permanent markers are best for long-lasting nail art, as they are resistant to smudging and fading. Meanwhile, oil-based Sharpies are a great choice for creating vibrant and bold designs on your nails.
Finally, consider the range of colors available in the Sharpie marker you choose. Sharpie offers a wide variety of colors, including metallic and neon shades, allowing you to unleash your creativity and experiment with different color combinations for your nail art.
Preparing your nails for Sharpie nail art
Before you begin creating your Sharpie nail art masterpiece, it’s important to properly prepare your nails. The first step is to remove any existing nail polish using a gentle acetone-free nail polish remover. This will ensure a clean canvas for your Sharpie designs.
Next, use a nail file to shape and smooth your nails. Pay attention to the edges and corners to prevent any snags or tears in the nail. This will help your Sharpie design to adhere smoothly to the nail surface.
After filing, it’s important to push back your cuticles using a cuticle pusher or orange stick. This will create a clean line for your Sharpie designs and prevent the risk of the ink bleeding onto the skin.
Once your nails are prepped, wash your hands with soap and water to remove any dust or debris from the filing and cuticle pushing. Dry your nails thoroughly before moving onto the next step of creating your stunning Sharpie nail art.
Step-by-step guide to Sharpie nail art designs
Creating beautiful nail art designs using Sharpie markers is a fun and affordable way to showcase your creativity. With a few simple steps, you can achieve stunning and intricate designs that will make your nails stand out. Follow this step-by-step guide to learn how to create your own Sharpie nail art masterpieces.
First, gather all the necessary materials before you begin. You will need a base coat, a selection of Sharpie markers in your chosen colors, rubbing alcohol, a small paintbrush, and a clear top coat. Once you have everything you need, you can start preparing your nails for the design.
Start by applying a base coat to your nails to protect them from the markers. Once the base coat is dry, you can start creating your design. Use a light-colored Sharpie marker to draw the outline of your design on your nails. Then, use the other colors to fill in the design and add intricate details. You can use the small paintbrush dipped in rubbing alcohol to blend the colors and create a watercolor effect.
Once you are satisfied with your design, allow it to dry completely before applying a clear top coat to seal and protect the design. This will help your Sharpie nail art last longer without chipping or smudging. Don’t forget to take care of your nails by moisturizing and maintaining them regularly to keep your nail art looking fresh and vibrant.
Tips for creating intricate Sharpie nail art
When creating Sharpie nail art, it’s important to pay attention to the intricate details. Start by gathering your supplies, including Sharpie markers in various colors, rubbing alcohol, cotton swabs, and a clear top coat. Make sure your nails are clean and free of any old polish before starting.
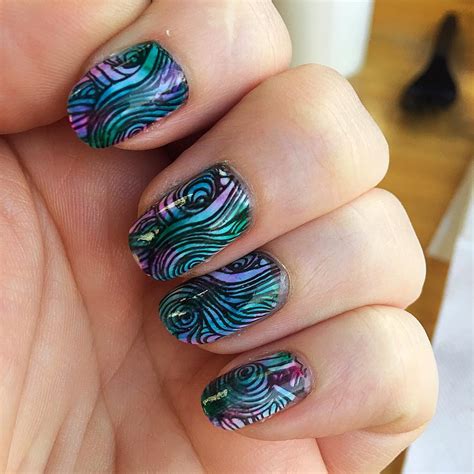
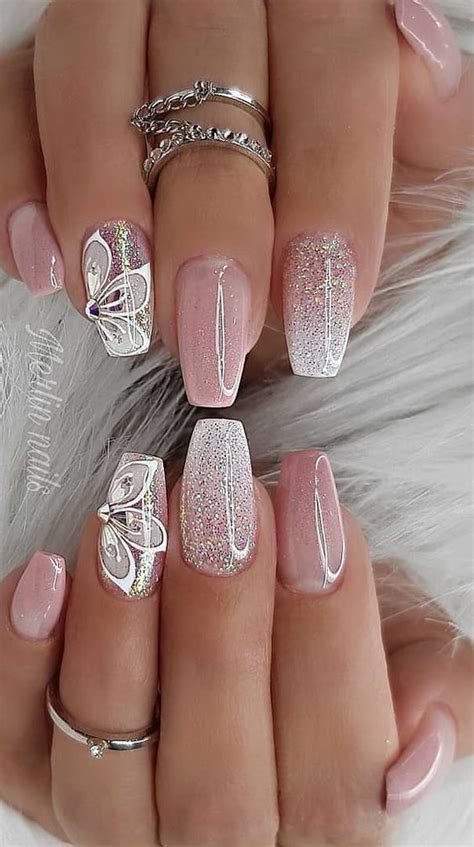
Next, choose a design that features intricate patterns or small details. Think about using floral designs, geometric shapes, or even a delicate lace pattern. Remember, the smaller the design, the more intricate it will appear on your nails.
Before you start drawing on your nails, it’s important to prep them properly. First, apply a base coat to protect your nails from the Sharpie ink. Then, apply a light-colored nail polish as a base for your design. This will help the Sharpie colors pop and prevent any staining of your natural nail.
When creating your design, start by using a light touch with your Sharpie markers. This will help you achieve precise lines and detailed shapes. If you make a mistake, simply dip a cotton swab in rubbing alcohol and gently erase the error before it dries.
Finally, seal your intricate Sharpie nail art with a clear top coat to protect the design and create a glossy finish. This will also help prevent the Sharpie ink from smudging or fading over time. With these tips in mind, you can create stunning and intricate Sharpie nail art designs that will surely turn heads.
Sealing and maintaining Sharpie nail art
Once you have completed your Sharpie nail art masterpiece, it’s important to seal and maintain it to ensure its longevity. Sealing the design will help prevent smudging and fading, while proper maintenance will keep your nails looking fabulous for longer.
One way to seal your Sharpie nail art is by applying a clear coat of nail polish over the design. This will create a protective barrier that helps to prevent the Sharpie ink from smearing or wearing off. Make sure to let the clear coat dry completely before moving on to the maintenance phase.
When it comes to maintaining your Sharpie nail art, it’s important to avoid harsh chemicals and excessive moisture. Be cautious when using cleaning products or coming into contact with water for prolonged periods of time, as this can cause the design to fade or smudge.
Regularly moisturizing your hands and nails can also help to maintain the Sharpie nail art. Dry, brittle nails are more prone to chipping and peeling, which can compromise the design. Use a cuticle oil or hand cream to keep your nails healthy and strong.
By properly sealing and maintaining your Sharpie nail art, you can enjoy your stunning designs for weeks to come. Remember to be gentle with your nails and take proper care of them to preserve the beauty of your Sharpie creations.

