Get expert tips on neon ombre nails: from choosing nail shapes to maintaining the perfect ombre effect with essential tools and supplies. Learn more!
What are Neon Colors?
Contents
Neon colors are extremely bright, fluorescent hues that are often seen in highlighter markers, signs, and clothing. These colors are known for their high visibility and eye-catching qualities, making them a popular choice for fashion, beauty, and decor. Neon colors are often found in shades of pink, orange, yellow, green, and blue, and can be mixed and matched to create vibrant and energetic looks.
One of the defining characteristics of neon colors is their ability to glow under black light. This unique property adds an extra element of fun and excitement to any design or style featuring neon colors. Whether it’s a neon ombre manicure, a neon party outfit, or a neon sign, these colors are sure to stand out and make a statement.
Neon colors are often associated with a retro or 80s aesthetic, but they have made a major comeback in recent years. From runway fashion to beauty trends, neon colors are showing up in all aspects of style and design. It’s no wonder why these bright and bold hues continue to captivate and inspire creatives across various industries.
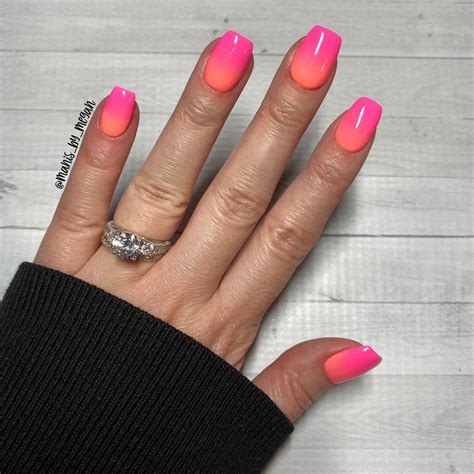
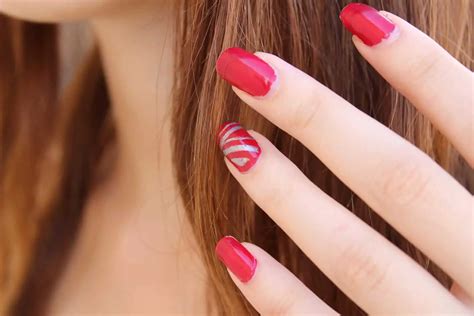
When it comes to nail art, neon colors are a popular choice for creating striking and attention-grabbing designs. Neon ombre nails, in particular, are a trending nail art technique that combines multiple neon shades to create a gradient effect. This bold and playful nail look is perfect for those who want to make a statement with their manicure.
Creating the Perfect Ombre Effect
When it comes to creating the perfect ombre effect on your nails, it’s important to start with a clean and well-prepped nail surface. This means making sure your nails are trimmed, filed, and free of any old nail polish. Once your nails are prepped, it’s time to gather your essential tools and supplies.
To create the ombre effect, you’ll need a few different nail polish colors, a makeup sponge, and a top coat. Start by applying a base coat to your nails and letting it dry completely. Next, choose your desired neon colors for the ombre effect. It’s best to use colors that are in the same color family to achieve a seamless transition.
Once you’ve selected your colors, apply a small amount of each polish onto a makeup sponge, ensuring that the colors blend together slightly. Gently dab the sponge onto your nails, moving it up and down to create the ombre effect. You may need to repeat this step a few times to build up the desired intensity of the colors.
After creating the ombre effect, let the polish dry for a few minutes before applying a top coat to seal in the design. This will help protect your neon ombre nails and keep the colors looking vibrant for longer. With a little practice and the right technique, you can achieve the perfect ombre effect on your nails and rock the latest nail trend.
Choosing the Right Nail Shapes
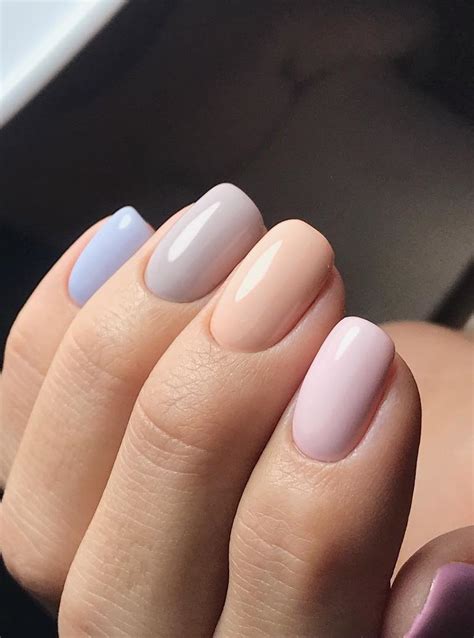
When it comes to creating the perfect neon ombre nails, choosing the right nail shape is an important step in achieving the desired look. There are several different nail shapes to choose from, each with its own unique advantages and drawbacks. Whether you prefer a classic square shape, a trendy stiletto shape, or something in between, it’s important to consider your personal style, lifestyle, and the overall look you want to achieve with your manicure.
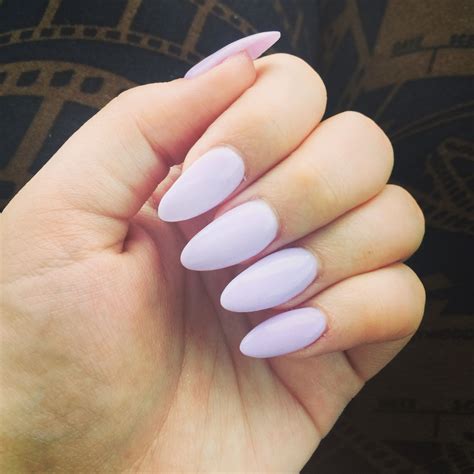
One popular nail shape that is well-suited for neon ombre nails is the almond shape. This soft, feminine shape features slightly rounded edges and comes to a point at the tip, resembling the shape of an almond. The almond shape is ideal for creating a sleek and elongated look, making it the perfect choice for showcasing a vibrant neon ombre design. Additionally, the almond shape is less prone to breakage than other longer nail shapes, making it a practical option for those with an active lifestyle.
For those who prefer a more dramatic and daring look, the stiletto shape is a bold choice for neon ombre nails. Characterized by its sharp, pointed tip, the stiletto shape is sure to make a statement and will beautifully complement the bright, eye-catching hues of a neon ombre design. However, it’s important to note that the stiletto shape requires regular maintenance and may not be the most practical option for everyone.
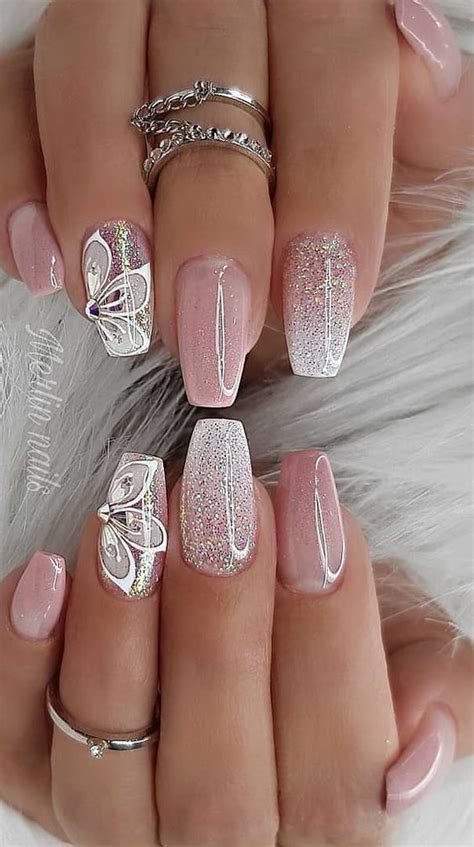
If a more classic and traditional look is your preference, the square shape may be the best choice for your neon ombre nails. The square shape is timeless and versatile, making it a popular option for many nail enthusiasts. This shape is also well-suited for showcasing a stunning neon ombre design, providing a clean and polished backdrop for the vibrant colors to shine.
Ultimately, when choosing the right nail shape for your neon ombre nails, it’s essential to consider your personal style, comfort, and the overall look you want to achieve. Whether you opt for an almond, stiletto, square, or another nail shape, the key is to select a shape that not only complements your neon ombre design but also suits your lifestyle and preferences.
Essential Tools and Supplies
When it comes to creating stunning neon ombre nails, having the right tools and supplies is essential. One of the most important items you’ll need is a set of high-quality nail brushes. These will allow you to blend the different neon colors together seamlessly, creating a beautiful ombre effect. In addition, you’ll also need a good quality UV or LED lamp to cure the gel polish. This is crucial for ensuring that your neon ombre nails have a long-lasting, professional finish.
Next, you’ll need a selection of neon gel polishes in the shades of your choice. Look for polishes that are specifically designed for creating ombre effects, as these will blend together more easily. You’ll also need a good quality base and top coat to ensure that your neon ombre nails stay looking vibrant and glossy for as long as possible.
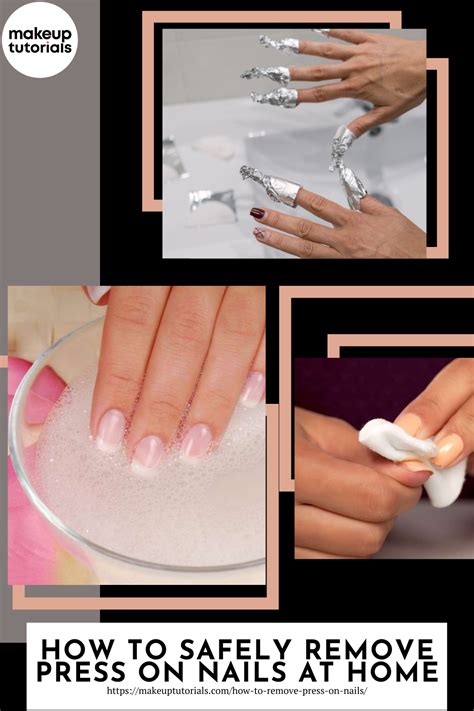
As well as these essentials, it’s also a good idea to have some nail prep and removal products on hand. This might include a cuticle remover, nail dehydrator, and gel polish remover. Properly preparing your nails and ensuring that the gel polish is removed correctly are both key steps in maintaining the health and appearance of your nails.
Finally, don’t forget to invest in a good quality nail file and buffer to shape and smooth your nails before applying the neon ombre design. Having the right tools and supplies at your disposal will make the process of creating and maintaining neon ombre nails much easier and more enjoyable.
Tips for Maintaining Neon Ombre Nails
After spending time and effort creating a beautiful neon ombre nail look, it’s important to know how to maintain it to ensure it lasts as long as possible. One of the most important tips for maintaining neon ombre nails is to protect them from chipping. This can be achieved by applying a clear top coat every few days to seal in the color and prevent it from wearing away.
Another essential tip is to keep your nails hydrated by regularly applying cuticle oil. Neon colors can sometimes dry out the nails, so it’s important to nourish them to prevent breakage and maintain a healthy appearance. Additionally, it’s important to be mindful of activities that can cause damage to the nails, such as using them to open things or engaging in rough work without protective gloves.
When it comes to cleaning, it’s important to use non-acetone nail polish remover as acetone can be harsh on the nails and may cause the ombre colors to fade or bleed. Gently removing any dirt or residue from the nails will help maintain the vibrancy of the neon ombre design.
Lastly, it’s important to be mindful of the products and tools you use on your nails. Using gentle nail care products and avoiding harsh chemicals will help preserve the ombre effect and keep your nails in good condition. By following these tips for maintaining neon ombre nails, you can ensure that your vibrant and colorful nail design lasts as long as possible.

