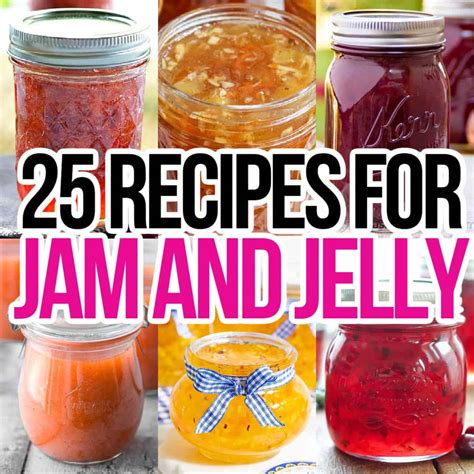
Discover expert tips on fruit selection, preparation, cooking, setting, cooling, and flavor variations for delicious dishes. Upgrade your culinary skills today!
Fruit Selection
Contents
When making jams and jellies, the first step is to carefully consider your fruit selection. The type of fruit you choose will have a big impact on the final flavor and texture of your homemade preserves. Look for ripe, firm fruits that are at the peak of their flavor. Berries, stone fruits, and citrus fruits are all excellent choices for jam and jelly making.
Next, consider the quality of the fruit. Avoid using overripe or underripe fruits, as they may not have the right balance of sweetness and acidity. It’s also important to use fruit that is free from blemishes or signs of decay. Fresh, high-quality fruit will result in a better final product.
Consider the seasonality of the fruit you choose. Using fresh, in-season fruit will give your jams and jellies the best flavor. If fresh fruit is not available, frozen fruit can also be a good option. Just be sure to thaw and drain the fruit thoroughly before using it in your recipes.
Finally, consider how you will prepare the fruit for your jams and jellies. Some recipes call for whole fruit, while others require the fruit to be crushed, mashed, or pureed. Take into account the specific preparation techniques you will need based on the type of fruit you have selected.
Preparation Techniques
When it comes to making jams and jellies, proper preparation techniques are crucial to ensure a successful outcome. One of the most important steps in the preparation process is selecting high-quality fruit that is ripe and free from any bruises or blemishes. Once you have chosen your fruit, the next step is to wash and dry it thoroughly before beginning the cooking process.
After the fruit has been properly washed and dried, it’s time to begin the preparation process. Depending on the type of fruit you are using, you may need to peel, pit, or remove any seeds before chopping or mashing the fruit. Some fruits may also need to be cooked or softened before being added to the jelly mixture.
Another important preparation technique to keep in mind is the use of pectin. Pectin is a natural substance found in many fruits that helps to thicken and set the jelly. If your chosen fruit is low in pectin, you may need to add a commercial pectin product to help the jelly set properly.
Finally, it’s crucial to follow proper sterilization techniques when preparing your jars and lids for canning. This will help to prevent any bacteria or spoilage from occurring and will ensure that your jams and jellies remain safe to eat for an extended period of time.
Cooking Process
Once you have selected and prepared your fruits and have set up your work area, it’s time to begin the cooking process. This is where the magic happens and your fruits will transform into delicious jams and jellies. The key to a successful cooking process is to use high heat to quickly break down the fruit and release its natural pectin, which is essential for gelling. You will need to stir the mixture constantly to prevent burning and ensure even cooking.
As the fruit mixture cooks, it will begin to thicken and the color will darken. This is a sign that the natural sugars are caramelizing and the flavors are intensifying. Keep a close eye on the mixture and continue stirring to prevent scorching. Depending on the recipe, the cooking process can take anywhere from 20 minutes to an hour.
Once the fruit mixture has reached the desired consistency and has passed the gel test, it is ready to be removed from the heat. The next step is to carefully transfer it into sterilized jars, leaving a small headspace at the top to allow for expansion. It’s important to work quickly at this stage to ensure that the jam or jelly sets properly.
After the jars have been filled, it’s time to seal them tightly with lids and process them in a hot water bath to create a strong vacuum seal. This will help to preserve the jams and jellies and prevent spoilage. Once the jars have been processed and cooled, they can be stored in a cool, dark place and enjoyed for months to come.
Setting and Cooling
After the jelly has been cooked, it’s important to allow it to set and cool properly. This step is crucial in achieving the right texture and consistency for your jam or jelly. Once the cooking process is complete, remove the pot from the heat and let the mixture sit for a few minutes to cool slightly.
Next, it’s time to set the jelly. This can be done by transferring the hot mixture into clean, sterilized jars. It’s important to leave some headspace at the top of the jars to allow for expansion during the cooling process.
Once the mixture has been poured into the jars, it’s essential to let them cool at room temperature for several hours. It’s advisable to avoid moving or disturbing the jars during this time to allow the jelly to set properly.
After the jelly has cooled and set, you can store the jars in the refrigerator or in a cool, dark place. Proper setting and cooling ensure that your jams and jellies will have the perfect texture and be ready to enjoy on toast, pastries, or as toppings for desserts.
Flavor Variations
When it comes to making jams and jellies, the flavor variations are endless. You can experiment with different types of fruits and combinations to create unique and delicious spreads. Whether you prefer classic flavors like strawberry or raspberry, or more exotic options like mango or pineapple, there are countless possibilities to explore.
One popular variation is to add herbs or spices to your jams and jellies. For example, a touch of fresh mint can add a refreshing twist to a traditional strawberry jam, while a sprinkle of cardamom can give peach preserves a warm and aromatic flavor. You can also experiment with citrus zest, vanilla bean, or even a hint of chili for a bold and unexpected taste.
Another way to create flavor variations is to mix different fruits together. Combining berries with stone fruits, such as cherries and apricots, can result in complex and multi-dimensional flavors that are sure to impress. You can also try adding a splash of fruit juice, such as pomegranate or cranberry, to enhance the taste of your jams and jellies.
In addition to fruits and spices, you can also use sweeteners like honey, maple syrup, or agave nectar to add depth and complexity to your spreads. These natural sweeteners can contribute a rich and caramelized flavor that pairs beautifully with a wide range of fruits, making them a great choice for creating unique and indulgent jams and jellies.
Ultimately, the key to creating delicious flavor variations in your jams and jellies is to be adventurous and open-minded. Don’t be afraid to try new ingredients and combinations, and don’t be discouraged if your first attempts don’t turn out as expected. With a little creativity and experimentation, you can unlock a world of exciting and satisfying flavors that will elevate your homemade spreads to a whole new level.

