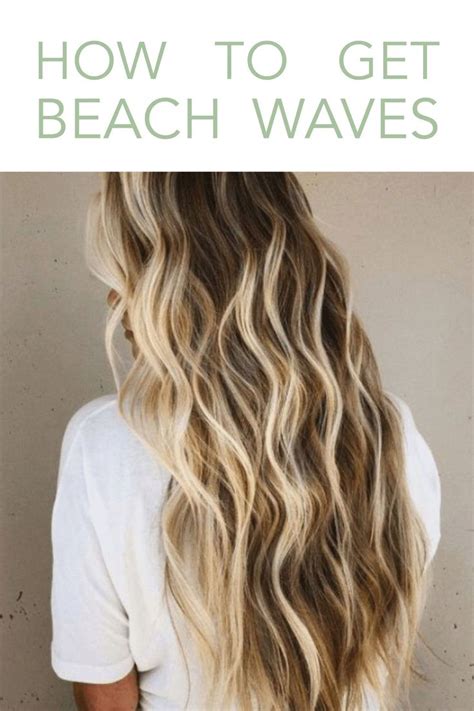
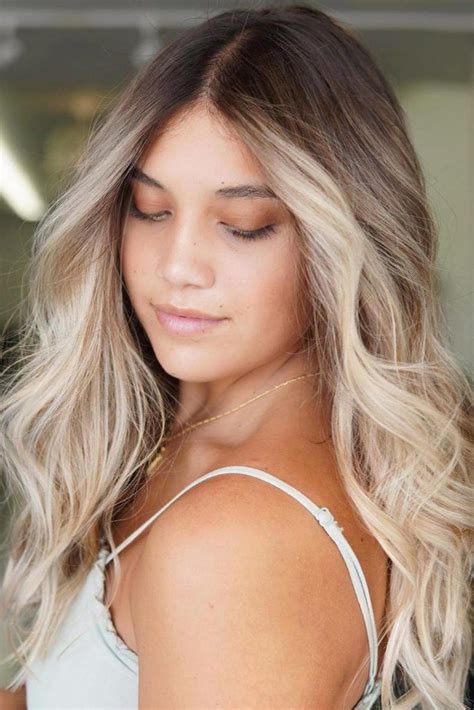
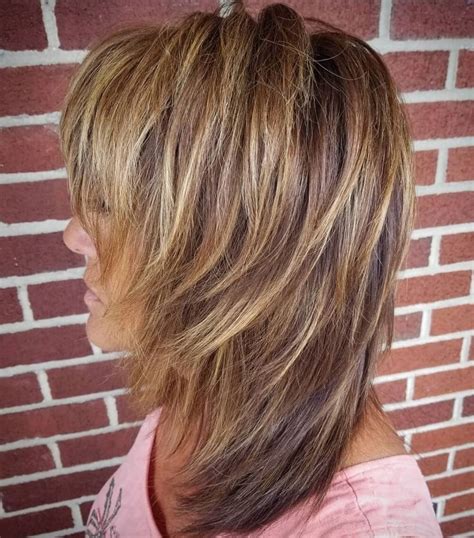
Discover the best hair styling tools and techniques for achieving effortless beachy waves. Learn how to prep, curl, and finish your hair perfectly.
Choosing the Right Hair Styling Tools
Contents
When it comes to achieving the perfect beachy waves, the right hair styling tools can make all the difference. Whether you prefer a curling iron or a flat iron, it’s important to choose a tool that is suited to your hair type and length.
Before you start shopping for a new hair styling tool, consider the size of the barrel. For loose, relaxed beach waves, a larger barrel size is ideal. If you have shorter hair or want tighter curls, a smaller barrel may be more suitable.
Another factor to consider when choosing a hair styling tool is the material it is made from. Ceramic barrels are great for reducing frizz and protecting hair from heat damage, while tourmaline and titanium tools offer even heat distribution for consistent results.
Additionally, take into account the heat settings of the tool. If you have fine or damaged hair, it’s important to choose a tool with adjustable heat settings to prevent unnecessary damage.
Ultimately, the right hair styling tool can make the process of creating beach waves much easier and more effective. By considering the size, material, and heat settings of the tool, you can ensure that you are choosing the best option for your hair type and styling preferences.
Prepping Your Hair for Beach Waves
Before you begin creating beautiful beach waves, it’s important to properly prepare your hair. The first step in prepping your hair for beach waves is to wash and condition your hair with products that are specifically designed for adding texture and enhancing waves. Look for shampoos and conditioners that contain sea salt, coconut oil, or seaweed extract to help create a tousled, beachy look.
After washing and conditioning, gently towel dry your hair to remove excess moisture. Then, apply a texturizing spray or mousse to add grip and hold to your hair. This will help to give your beach waves staying power and prevent them from falling flat throughout the day. Work the product through your hair from roots to ends to ensure even distribution.
Once you’ve applied the texturizing product, it’s time to create a strong foundation for your beach waves. Use a wide-tooth comb to gently detangle your hair, being careful not to break up any natural waves or curls. If your hair is prone to frizz, you can also apply a small amount of anti-frizz serum or cream to smooth and control any unruly strands.
Finally, if you plan to use heat styling tools to create your beach waves, be sure to apply a heat protectant spray to shield your hair from potential damage. This will help to keep your hair healthy and strong, even with frequent styling. With your hair properly prepped, you’ll be ready to move on to the next step in achieving effortless, beachy waves!
Creating Beach Waves with a Curling Iron
When it comes to achieving those perfect beach waves, a curling iron can be your best friend. Start by prepping your hair with heat protectant spray to shield your strands from damage. Then, divide your hair into small sections to ensure even waves. Take a section of hair and wrap it around the curling iron, holding for a few seconds before releasing. Repeat this process for all sections of hair, alternating the direction of the curls for a natural, effortless look.
For a more relaxed feel, leave the ends of your hair out of the curling iron for a tousled effect. Once all sections are curled, let your hair cool down before gently running your fingers through the waves to break them up. Finish with a spritz of sea salt spray for added texture and hold. And there you have it – beautiful beach waves created with a curling iron!
For those with fine hair, opt for a smaller barrel size to create tighter, longer-lasting waves. If you have thicker hair, a larger barrel will give you loose, flowing waves. Take your time with each section to ensure every strand is evenly curled and make sure to use a heat protectant before styling to keep your hair healthy and happy.
Getting Beachy Waves with a Flat Iron
When it comes to achieving beautiful beachy waves, there are several different methods and tools that can be used to achieve the desired look. One of the most popular and effective tools for creating beach waves is the flat iron. This versatile hair styling tool can be used to create loose, tousled waves that are perfect for a day at the beach or a night out on the town.
Before using a flat iron to create beachy waves, it’s important to properly prepare the hair. Start by washing and conditioning the hair with products designed to enhance and define natural waves. Once the hair is clean and conditioned, apply a heat protectant spray to help minimize damage from the flat iron.
Next, divide the hair into small sections and begin working with one section at a time. Starting at the roots, gently clamp the flat iron around the section of hair and twist the iron away from the face. Slowly slide the flat iron down the length of the hair, allowing the heat to form natural-looking waves. Repeat this process on all sections of hair until the desired beachy waves are achieved.
After using the flat iron to create beachy waves, it’s important to finish the look with a texturizing spray or sea salt spray to add volume and hold to the waves. Gently tousle the hair with your fingers to separate the waves and create a more effortless, undone look. For extra hold, a light-hold hairspray can be used to set the style in place.
Overall, using a flat iron to create beachy waves is a quick and easy way to achieve beautiful, tousled waves. By properly preparing the hair and using the flat iron technique, anyone can achieve the perfect beachy waves for any occasion.
Finishing Touches for Effortless Beachy Waves
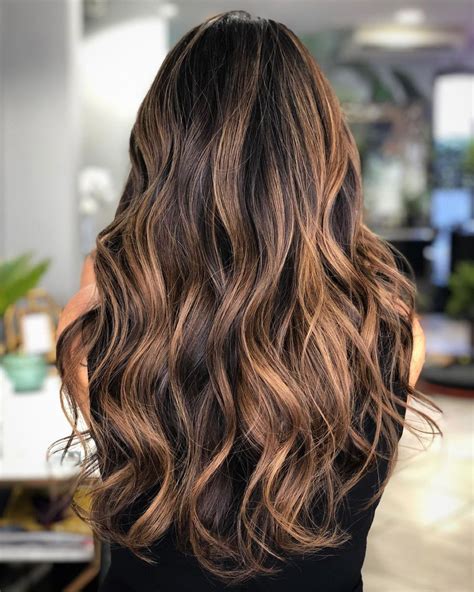
After creating beautiful beachy waves with your chosen hair styling tool, it’s essential to add the finishing touches to achieve that effortlessly chic look. One important step is to tousle your waves with your fingers to give them a more natural and relaxed appearance. This will also help to break up any defined curls and create a more effortless, beachy vibe.
Another great way to add the perfect finishing touch to your beachy waves is to apply a texturizing spray. This will give your hair that coveted gritty texture and help to hold the waves in place. Simply spritz the texturizing spray evenly throughout your hair and then scrunch or tousle the waves with your fingers to enhance the texture.
If you want to add a little extra definition to your waves, you can pin back a small section of hair on one side of your head, using a bobby pin. This will create a subtle, stylish twist in your beachy waves and add a touch of sophistication to the overall look.
Accessorizing your beachy waves can also be a fun way to add those finishing touches. Consider adding a stylish headband, a few cute hair clips, or even a colorful scarf to elevate your beachy waves and make them stand out.

