Get inspired with polka dot, floral, ombre, glitter accent, and marble effect nail art designs. Learn how to achieve these trendy manicures.
Polka Dot Nail Art
Contents
Are you looking for a fun and playful nail design to try out? Look no further than polka dot nail art! This cute and easy nail design is perfect for adding a pop of color and personality to your look. Whether you’re going for a subtle and sophisticated manicure or a bold and vibrant design, polka dot nails are incredibly versatile and customizable.
One of the best things about polka dot nail art is that you don’t need any special tools or skills to achieve this look. All you need is some nail polish in your desired colors, a dotting tool (or even just a bobby pin or toothpick), and a steady hand. Start by painting your nails with a base color, then use your dotting tool to create evenly spaced dots on each nail. You can even mix and match different colors for a fun and eclectic look!
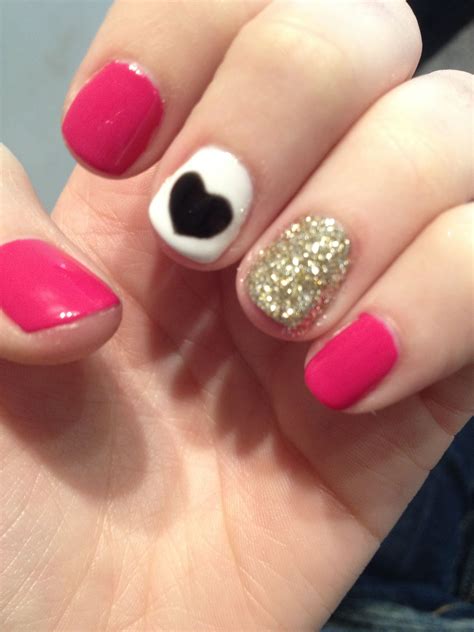
If you’re feeling extra creative, you can experiment with different shapes and sizes of dots, or even create patterns like hearts or stars. The possibilities are endless when it comes to polka dot nail art, so don’t be afraid to let your imagination run wild!
For an extra touch of glamour, consider adding some glitter accents to your polka dot design, or even incorporating some floral or marble elements. The beauty of polka dot nail art is that it pairs well with a variety of other designs, so feel free to get creative and make it your own!
Floral Nail Designs
Cute Nails Designs Easy Tutorials
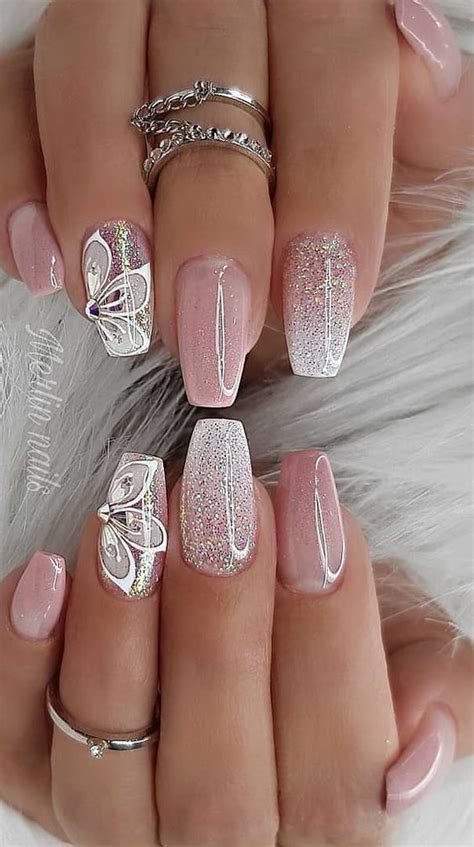
Floral nail designs are a popular choice for those looking to add a touch of femininity and elegance to their manicure. This style features delicate flower patterns in a variety of colors and sizes, making it perfect for any occasion. One of the best things about floral nail designs is that they are relatively easy to create, even for beginners!
If you’re feeling creative, you can experiment with different flowers, such as roses, daisies, or cherry blossoms, and even add some leaves or vines to complement the look. You can also play around with different color combinations to create a unique and eye-catching design that suits your personal style.
To get started with floral nail designs, all you need is a few basic nail art tools, such as a thin brush, dotting tool, and some nail polish in your desired colors. Once you have your tools ready, you can start by painting your nails with a base color and then using the thin brush to create the flower petals and leaves. You can also use the dotting tool to add the flower centers or any other small details to complete the look.
For a more intricate floral design, you can also use nail stickers or decals to create a professional-looking manicure without much effort. These stickers come in a variety of floral patterns and can be easily applied to your nails for an instant and stunning look. Whether you’re a beginner or a nail art pro, floral nail designs are a fun and easy way to elevate your manicure game.
Ombre Nail Tutorial
Creating a beautiful ombre nail design is easier than you think, and it’s a great way to add some flair to your nails. To start, gather all the supplies you’ll need – two or more nail polish colors, a makeup sponge, nail polish remover, and a top coat. Begin by applying a base coat to your nails and allowing it to dry completely. This will help protect your nails and create a smooth surface for the ombre design.
Next, choose your nail polish colors. For a classic ombre look, pick two colors that complement each other. Using the lighter color, apply a small amount to the makeup sponge. Blot off any excess polish and then gently dab the sponge onto the tip of your nail. Repeat this process with the darker color, slightly overlapping the two shades to create a seamless transition. If you want to get more adventurous, try using three or more colors for a multi-tonal ombre effect.
Once you’re happy with the ombre effect, clean up any polish that may have gotten on your skin with a small brush dipped in nail polish remover. Finish off your design with a top coat to seal in the colors and add a glossy finish. Voila – you’ve just created a stunning ombre nail design!
Glitter Accent Nails
Glitter accent nails are a fun and easy way to add some sparkle to your manicure. Whether you’re going for a subtle hint of glitter or full-on bling, there are plenty of ways to incorporate glitter into your nail design.
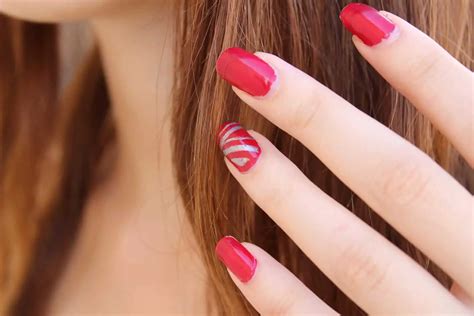
One popular way to create glitter accent nails is to apply glitter polish to just one or two nails on each hand, while leaving the rest of the nails a solid color. This allows the glitter to really stand out and add a touch of glam to your look.
Another fun way to incorporate glitter into your nail design is to create a glitter ombre effect. Start by painting your nails with a base color, then use a sponge to dab on a layer of glitter polish towards the tips of your nails. This creates a beautiful gradient effect that is sure to turn heads.
If you’re feeling extra creative, you can also experiment with different shapes and sizes of glitter. Try using chunky glitter for a bold, statement look, or opt for fine glitter for a more subtle touch of sparkle.
No matter how you choose to incorporate glitter into your nail design, the key is to have fun and experiment with different techniques until you find the perfect glitter accent nails for you.
Marble Effect Manicure
One of the most popular nail trends right now is the marble effect manicure. This chic and sophisticated design gives your nails a luxurious look without the hefty price tag. It’s also surprisingly easy to achieve at home, so you can show off your stylish nails without spending a fortune at the salon.
To create a marble effect manicure, start by applying a base coat to your nails. This will help protect your natural nails and create a smooth surface for the marble effect. Next, choose two or three nail polish colors that complement each other. You can go for classic black and white for a timeless look, or experiment with pastel shades for something a little more playful.
Once your base coat is dry, apply small drops of each nail polish color onto your nails. Use a toothpick or a nail art brush to swirl the colors together, creating a marble effect. You can make the design as bold or as subtle as you like, depending on your personal style. Just be sure to work quickly, as the nail polish will start to dry.
After creating the marble effect, let your nails dry completely before applying a clear top coat to seal in the design and add shine. This will also help your marble effect manicure last longer without chipping. Finish off your nails with a nourishing cuticle oil to keep your hands looking and feeling their best.

